Welcome to the fascinating world of robotics! Whether you’re a hobbyist, an educator looking to engage students, or a tech enthusiast curious about automation, the arrival of Raspberry Pi has opened new doors. Imagine crafting your very own robot—a novelty concept just decades ago—right from your workspace or home. This guide will seamlessly walk you through the steps and strategies needed to build your first robot using the versatile Raspberry Pi, ensuring user-friendliness every step of the way.
Understanding Raspberry Pi: A Mighty Mini Computer
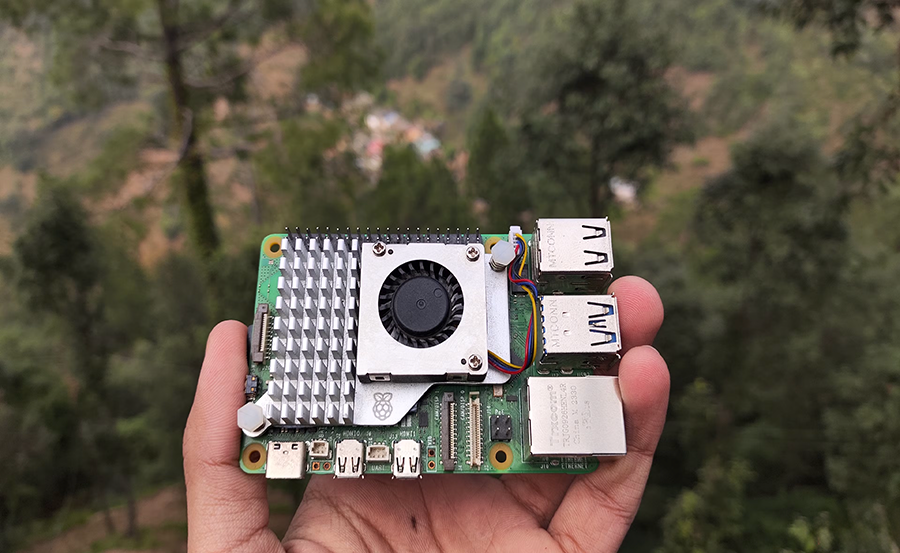
Before jumping into construction, let’s understand what Raspberry Pi is all about. At its core, Raspberry Pi is a series of small single-board computers created by the Raspberry Pi Foundation. It’s as compact as a credit card yet powerful enough to run multimedia streams, handle Linux-based OS, and of course, operate your future robot.
Despite its size, this little board can handle surprising tasks. You’ll discover that it’s well-equipped with USB ports, HDMI output, and an ethernet connection, which makes it ideal for various applications—not just limited to robots. But fret not, you don’t need to be a tech guru to harness its capabilities.

Pro Tip:
Get high-quality streams with Affordable IPTV services for a world-class viewing experience.
Why Raspberry Pi?
What makes Raspberry Pi the ideal choice for aspiring roboticists is its affordability and simplicity. Compared to specialized controllers, Raspberry Pi offers a cost-effective solution while not compromising on functionality. Whether you’re planning DuplexIPTV streaming or simply interested in making your robot dance, the possibilities are genuinely limitless.
Users from the UK and beyond find Raspberry Pi accessible and efficient, especially when trying to integrate IPTV features or simply tweaking their robot’s specifications as per their desired needs. Plus, the wealth of online resources and communities makes troubleshooting and upgrading a breeze.
Raspberry Pi Models & Specifications
Choosing the Right Model
With numerous Raspberry Pi models available, choosing one can be daunting. The key here is to understand your project’s specific needs. Are you building a basic bot or something more complex? For most beginners, the Raspberry Pi 4 Model B is an excellent choice, offering improved processing power without overwhelming first-time users.
For those particularly budget-conscious, the Raspberry Pi Zero W offers wireless capabilities at a lower cost, although it lacks the horsepower necessary for more intensive robotics projects. Thus, picking a model primarily hinges on balancing power requirements with budget constraints.
Technical Specifications
Once you have the model sorted, focusing on technical specs is crucial. A typical Raspberry Pi model will include a Broadcom CPU, RAM ranging from 512MB to 8GB, and several connectivity options. Pay particular attention to the GPIO pins, which are instrumental for connecting components to your robot.
Additionally, make backup considerations for power needs, especially when you decide to add features such as cameras or audio functionality to your bot. With power attachments easily available, managing this should not present an enormous challenge.
Getting Started with Your First Robot
Now, let’s dive into the actual building phase. Getting your Raspberry Pi onto the workbench is excitement epitomized. Here’s a general rundown of assembling your first robot, focusing on introducing key parts, setup, and the initial tufts of programming.
Essential Components
You’ll need a variety of components to get started with your robot. Here’s a checklist to set you on the right path:
- Raspberry Pi board of your choice
- Chassis, wheels, and motors
- Batteries and power supply modules
- Motor driver boards
- Sensors (ultrasonic, infrared, etc.)
- Connection cables and jumper wires
Ensure that your shopping list aligns with your skill level. Start simple; complexities can be added once confidence is built alongside new skills being learned. After sourcing components, the fun begins.
Assembling the Robot
Your first step is the assembly of the robot’s framework. Align the chassis, secure the motors and ensure the wheel alignment provides stability. Organizing the components carefully will aid significantly when it comes time to wire everything together.
Next, mount the Raspberry Pi on your robot’s chassis. A safe and secure attachment minimizes damage risk to your board. Follow this with the connection of your motors to the motor driver board, regulated by the GPIO pins of your Raspberry Pi.
Connecting Sensors and Modules
Ultrasonic and Infrared Sensors
These sensors are pivotal in giving your robot the “senses” it needs. Attach them strategically—ultrasonic for distance detection and infrared to follow lines or dodge obstacles. Integrating these sensors correctly ensures your robot responds efficiently to the surrounding environment.
For the Raspberry Pi, connecting is relatively straightforward: use jumper wires for connections between GPIO pins and sensor modules. Secure connections help prevent issues during operation.
Camera Modules and More
If you’re thinking of adding more advanced features, contemplate installing a camera module. This allows your robot to “see,” adding a whole new layer of interaction and sophistication in projects like image recognition and livestreaming (a nod to the Best IPTV UK possibilities).
What’s crucial here is understanding the limits of your power source as each module demands its share of your Pi’s power. Therefore, plan and align power needs with practicalities, ensuring longevity without compromising performance.
Programming Your Robot
Equipped with the hardware, it’s time to bring your robot to life through coding. Here’s where magic meets logic. From simple commands to complex tasks, programming will breathe life into the mechanical marvel you’ve built.
Setting Up Your Programming Environment
First, set up a programming environment. Python is favored for its simplicity and community support. Begin by installing necessary libraries such as RPi.GPIO or GPIOZero, which are integral in managing input and output among your connected components.
Many beginners start their coding journey in Raspberry Pi’s own IDEs like Thonny. These environments lower complexity, allowing focus on programming logic without getting bogged down by excessively technical details.
Writing and Executing Basic Code
Start with the basics. Simply getting your robot to move forward is a significant milestone. Write a Python script that rotates the wheels by sending signals from the Pi to the motor driver.
Expand gradually by adding controls for different directions and stopping. Ensure to test meticulously between each step to confirm proper function. This iterative approach reduces risk and builds understanding simultaneously.
Using Conditionals and Loops
Robotics call for conditional logic—what actions should your robot take upon recognizing an obstacle with the ultrasonic sensor? Use Python’s conditional statements to set these rules and loops to repeat necessary functions without constant input.
This evolution in coding defines how intelligent or autonomous your robot behaves. With loops, automate the directions or continuously read sensor inputs, adjusting actions accordingly.
Exploring Advanced Scenarios
Once comfortable with basics, delve into more advanced programming tasks. Can your bot use a camera to recognize its environment? Integrate machine learning algorithms to interpret visual data or connect to DuplexIPTV streams on a display module for innovative projects.
Advanced scenarios also incorporate potentially connecting it to other network devices, expanding the spectrum of its capabilities far beyond basic autonomy. The vast array of methods in AI, automation, and data processing remains an adventure in itself.
Testing and Debugging
No robot is perfect from inception. Therefore, meticulous testing and debugging is essential. Run consecutive tests with diverse scenarios and document areas requiring refinement. Identify unresponsive sensors, incorrect power allocations, or coding issues early.
A positive aspect of working with Raspberry Pi is the supportive global community. Lean on online forums and discussions centered around UK enthusiasts embracing tech innovations—these resources can be indispensable when troubleshooting.
Maintaining Your Robot
Beyond the building and programming journey lies another essential responsibility—maintenance. To ensure longevity and consistent performance, integrate routine checks and updates specific to your robot.
Routine Checks
Begin by physically inspecting your robot. Check for loose wires, unnecessary wear within mechanical parts, and sensor calibrations. Consider occasional lubrication of moving parts to maintain smooth operation.
Beyond physical checks, regularly update the software and firmware. Improvements often come from community suggestions and official Raspberry Pi enhancements. Keep your codebase backed up, allowing easy reversion and data protection.
Troubleshooting Common Issues
Even when keen on maintenance, oddities may arise. Whether it’s a software crash or a motor malfunction, first determine if the problem is on the hardware or software end and then move forward accordingly.
Engage with UK-based forums discussing common issues, or look to broader resources like Stack Exchange for complex problems. Thankfully, the Raspberry Pi community is vast, welcoming, and a rich source for guidance.
The Creative Horizon: What’s Next?
Completing your first robot opens a world of endless opportunities. As you wrap up your initial project, reflect on the skills and knowledge acquired. Now, the creative horizons stretch far beyond your early concepts—perhaps a humanoid bot, an interactive drone, or intricate home automation.
Celebrate your achievements in mastering a challenging yet rewarding discipline, fostering a curiosity for continuous learning and innovation. The community you’ve joined is rich with shared knowledge, making daunting tasks feel surprisingly achievable.
Frequently Asked Questions

Is Raspberry Pi suitable for beginners in robotics?
Absolutely! Raspberry Pi offers an excellent platform for starting robotics, given its balance of simplicity, performance, and cost-effectiveness. Numerous tutorials and the active community offer great support for beginners.
How can I use Raspberry Pi for IPTV applications in my robot?
Integrating Raspberry Pi into IPTV applications might seem challenging, but with the right setup, it can manage streaming. Look to applications like DuplexIPTV for compatibility with UK IPTV options to broaden your bot’s capabilities.
What programming language should I use for my robot project?
Python is highly recommended due to its simplicity and extensive support for robotics libraries. It acts as a foundational language for managing GPIO, sensors, and autonomous operations.
What if I encounter issues with my Raspberry Pi robot?
Don’t worry; it’s quite normal! Recheck wiring and code for typical mishaps. Utilize online forums for specific topics and searching for similar queries related to your robot’s challenges.
Is it possible to enhance my robot with artificial intelligence features?
Certainly! Raspberry Pi supports implementing AI through libraries like TensorFlow and OpenCV, enabling face recognition, voice control, and more. Mind the computational limits and optimize AI tasks for the board’s abilities.
How do I decide on the combination of sensors for my robot project?
Consider the primary tasks your robot will perform. Distance sensing may require ultrasonic sensors, while infrared may suit line-following. Research your project’s requirements and budget to determine the optimal sensor setup.
Can I build additional robots with different functionalities using Raspberry Pi?
Yes, Raspberry Pi is versatile for multiple projects. Experience gained from a first build offers foundational skills, making subsequent projects like drones, security bots, or interactive displays using UK IPTV integrations much simpler to tackle.
How the Formuler Z Device Enhances Streaming Quality for IPTV